10/11/2015

Nagios check_oracle_health

Here we are with a new monitoring post, and remember, every day spent working on Nagios is always a great day! :)

This time I want to talk about an awsome Nagios plugin made by ConSol Labs named check_oracle_health.
As you can imagine this extension works on Oracle database and it’s really incredibly helpful for every sysadmin who works with this product, It’s super easy to implement, It’s super easy to understand and It’s super light and efficient compared to the monstrous official Oracle Enterprise Manager.

Assuming you already have a fully functional Nagios server (it’s not important which versions, I tried this plugin on version 2.9 until the latest) you can choose to install check_oracle_health on the Oracle server itself or on another server who has Oracle client with sqlplus installed (to be honest I haven’t tried this second scenario, but I think can work in the same way).
The plugin can work with perl DBD::Oracle or sqlplus client, in this tutorial I will use sqlplus.

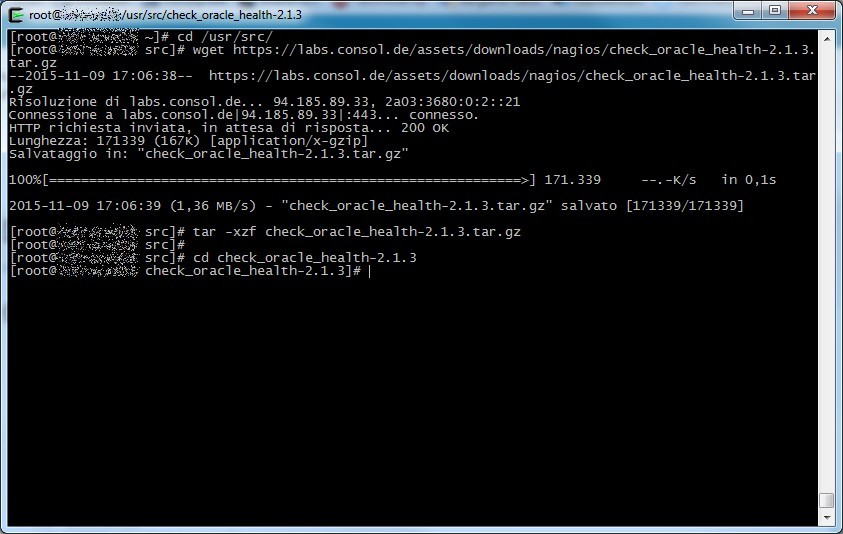
First of all download the plugin tar.gz archive, decompress it and enter in its directory

1

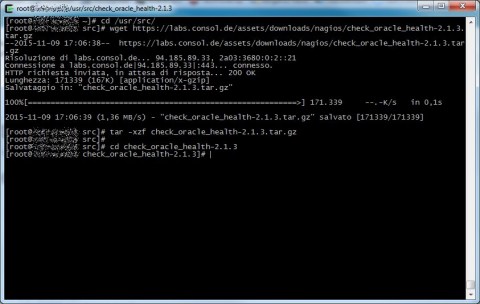
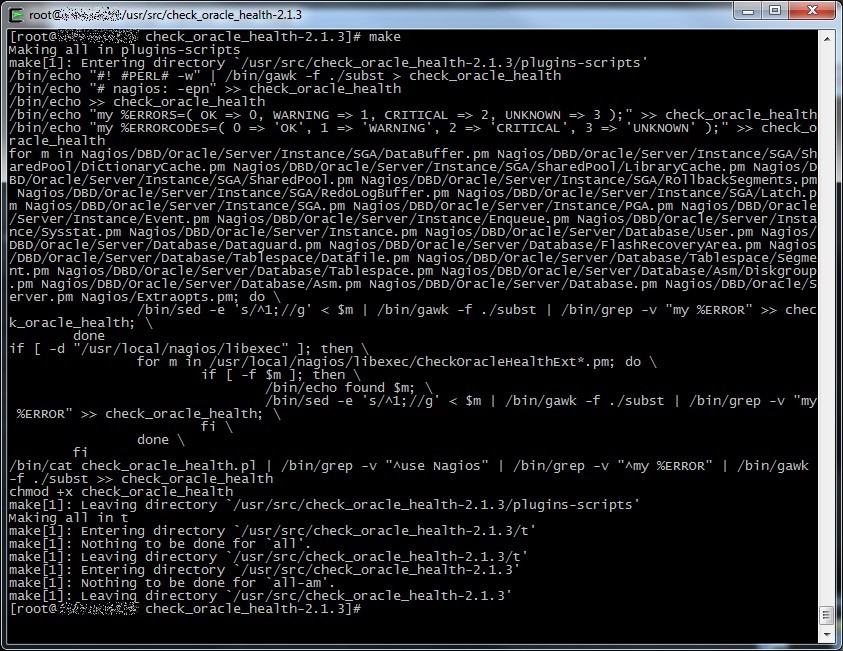
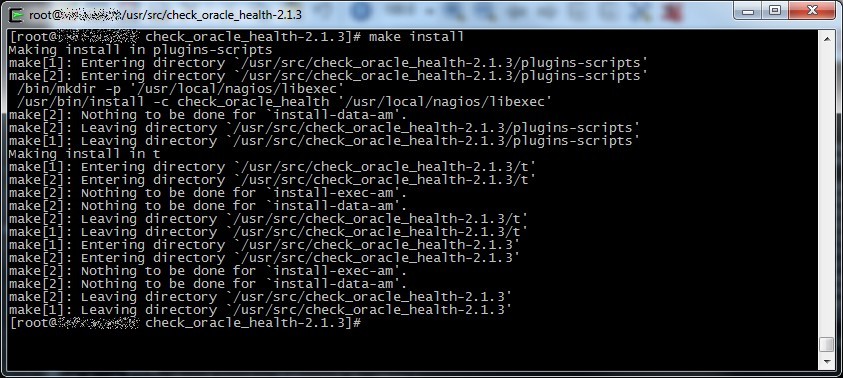
After that procede with the classic configure+make+make install procedure like any other GNU/Linux software source, if you want you can change some options, try “./configure –help” for more informations.

2

3

4

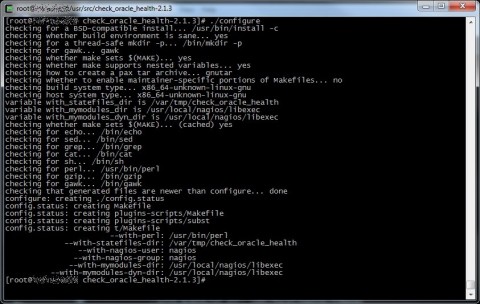
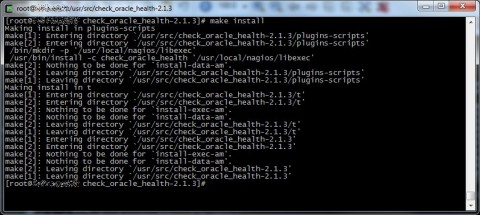
Ok, now we have our plugin ready to work, try to launch /usr/local/nagios/libexec/check_oracle_health to verify it’s ok (check the path if you changed it during the configure phase).
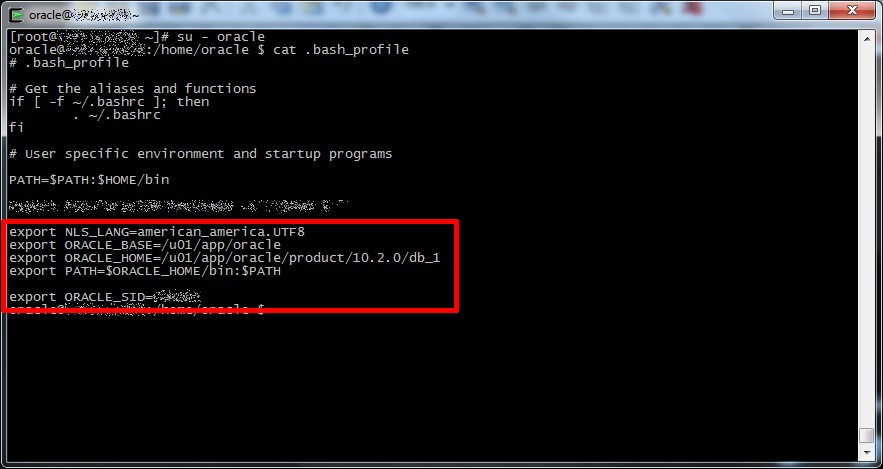
Now the nasty part, as I said I will use sqlplus, which require you’ll set the right environment variables to work (NLS_LANG, ORACLE_HOME, ORACLE_BASE, PATH); you can find them logging the database user (for example oracle) and check the user profile (for example inside the ~/.bash_profile).

5

In our scenario we will use nrpe to remotely run our Nagios services, so we have to export this variables for nrpe daemon, to do this you can insert these variables inside the init script for the nrpe daemon (/etc/init.d/nrpe) or inside any incuded file (for example /etc/sysconfig/nrpe) or inside the unit file if you use systemd.

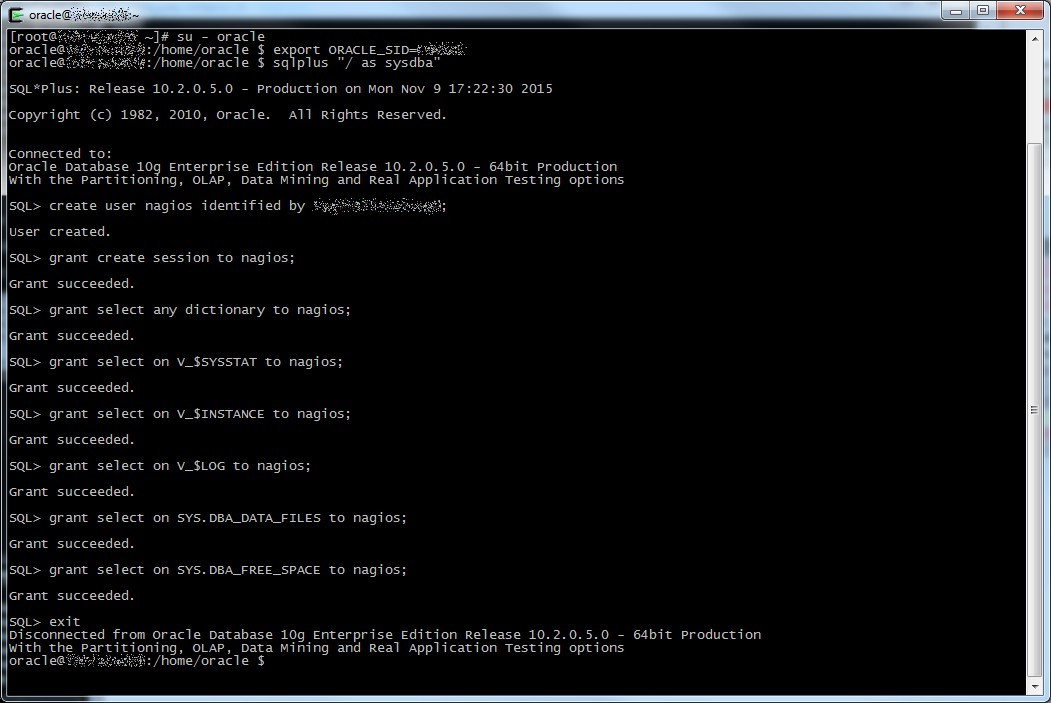
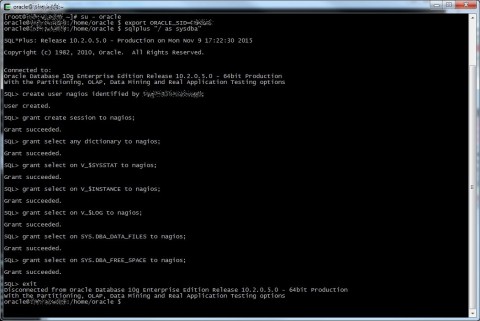
Now on the Oracle database we have to create a user for the plugin and give it the right grants, you don’t want it to use sys or system, don’t you?
Export your ORACLE_SID variable with the right SID, log into sqlplus and launch these commands (change [PASSWORD] with your supersecure password):

create user nagios identified by [PASSWORD];
grant create session to nagios;
grant select any dictionary to nagios;
grant select on V_$SYSSTAT to nagios;
grant select on V_$INSTANCE to nagios;
grant select on V_$LOG to nagios;
grant select on SYS.DBA_DATA_FILES to nagios;
grant select on SYS.DBA_FREE_SPACE to nagios;

8

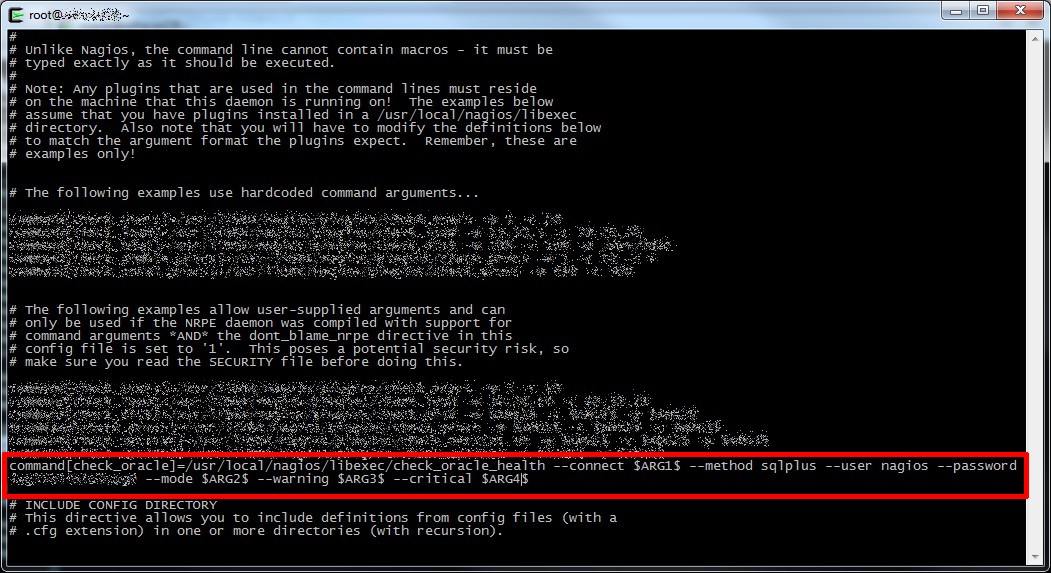
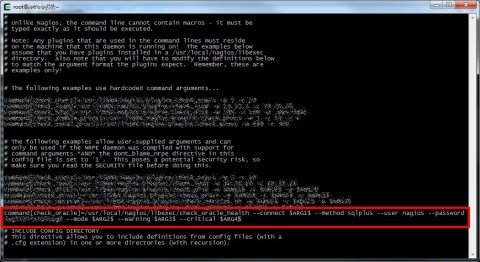
Now let’s change the /etc/nagios/nrpe.conf file, the objective is to create a single nrpe command that will be useful for every service we will define inside Nagios configuration.
To archive this you can use this syntax, it uses command arguments so you need dont_blame_nrpe=1 directive inside the nrpg.conf file or arguments will not work.

command[check_oracle]=/usr/local/nagios/libexec/check_oracle_health --connect $ARG1$ --method sqlplus --user nagios --password [PASSWORD] --mode $ARG2$ --warning $ARG3$ --critical $ARG4$

The arguments are quite simple:

  • ARG1 is the SID of the database we want to monitor (check your tnsnames.ora file)
  • ARG2 is the specific check we will do with check_oracle_health (read the official documentation for a full list of modes)
  • ARG3 is the warning threshold (%)
  • ARG4 is the critical threshold (%)

9

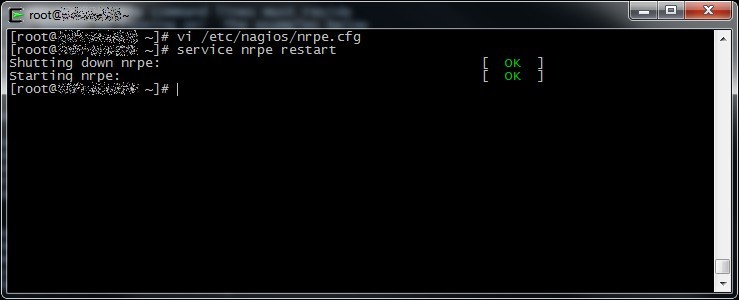
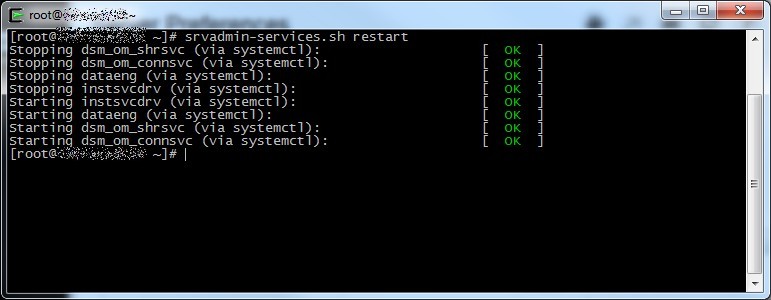
Restart nrpe daemon to activate all the changes

10

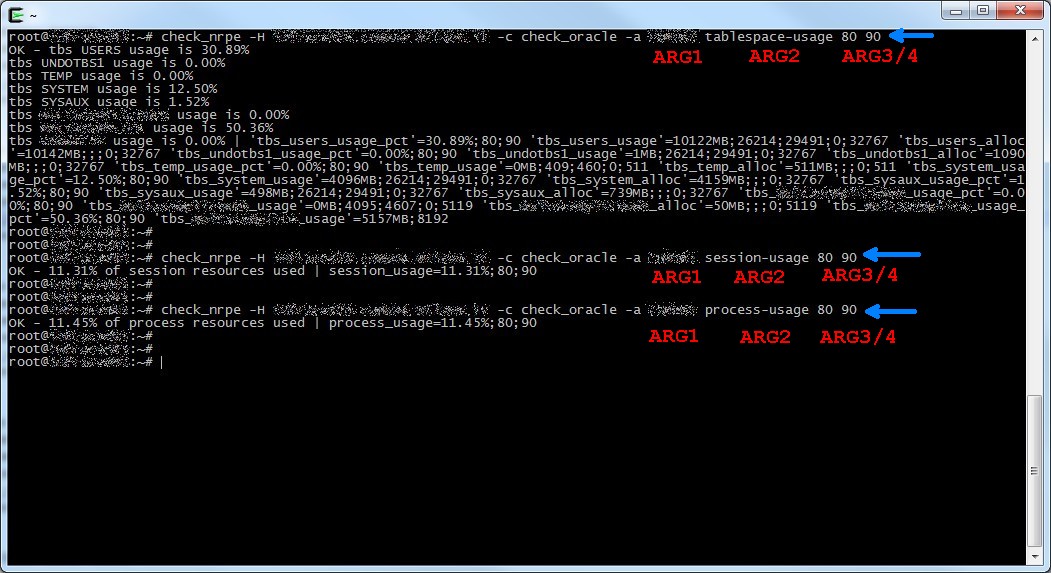
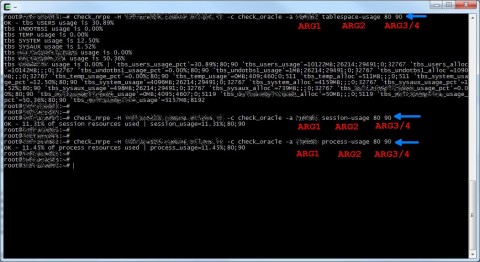
Now let’s try if everythin works, on the Nagios server launch the check_nrpe plugin to simulate what Nagios daemon will do.
This is the syntax:

check_nrpe -H [host or ip address of nrpe server] -c [nrpe command] -a [list of arguments separated by space]

Remember arguments we defined inside the nrpe.conf file:

  • ARG1 is the SID, for example MYORADB
  • ARG2 is the specific check we will do, for example tablespace-usage
  • ARG3 is the warning threshold, for example 80%
  • ARG4 is the critical threshold, for example 90%

11

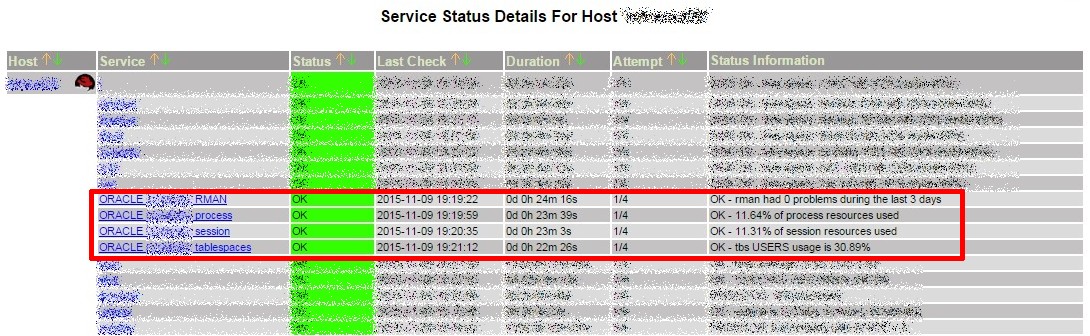
The last thing you have to do is to finally configure the nrpe service inside Nagios, here is an example of the syntax:

define service{
  use generic-service
  host_name uberoracle.domain.local
  service_description ORACLE tablespaces use
  check_command check_nrpe!check_oracle!MYORADB tablespace-usage 80 90
  }

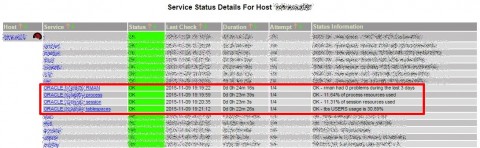
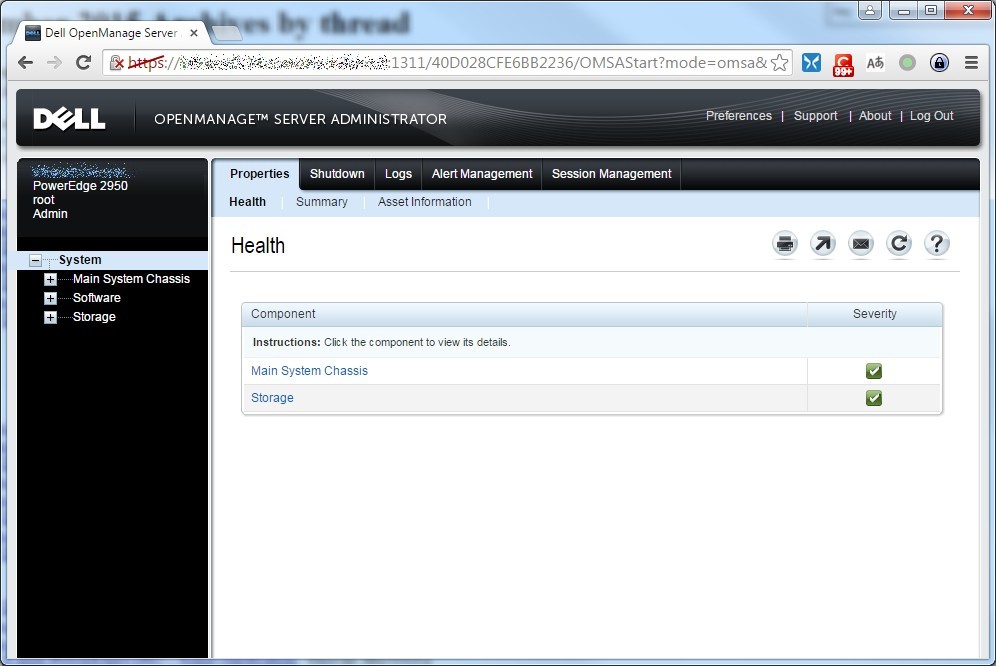
Our shiny new Oracle monitor! (on an ugly old Nagios 2.9…)

12

01/10/2015

Dell OMSA https problem

Hi, first of a long (I hope) series of posts in english, I have to get used to it and I think the topic is useful not only to me but also to a few people around the web.

I noticed some problem logging to Dell OMSA through https protocol with new browsers, the problem came from the new security features and the more restrictive browser behavior with this protocol.
Here’s the error accessing OMSA with Google Chrome v. 45.x (ERR_SSL_WEAK_SERVER_EPHEMERAL_DH_KEY)

omsa_https_01

The solution is quite simple, log into OMSA using an older browser (for example Firefox v. 30) and browse to Preferences (link on the homepage header) –> General Settings, and change the SSL Encryption field to “Auto Negotiate”.

omsa_https_02

After that log into your server console and restart OMSA services (in GNU/Linux with srvadmin-services.sh script)

omsa_https_03

Now try to log into OMSA using the newest browser… et voilà!

omsa_https_04

08/08/2015

Windows 10 updates sharing

Ieri ho completato il tanto agognato aggiornamento a Windows 10 della mia postazione da gaming, nonchè backup station, nonchè minilab, nonchè qualsiasi altra cosa che vi venga in mente, insomma il mio pc di casa, quello “cazzuto”.

Tra le varie pinzillacchere dell’ultima release dell’OS Microsoft che ho disabilitato all’istante ve n’è una che mi ha particolarmente infastidito, e credo infastidirà tutti quelli che come il sottoscritto non abitano in una zona coperta dalla fantafibra o l’abracadabradsl tanto pubblicizzata dagli operatori tlc nostrani.
La suddetta “feature” (le virgolette sono d’obbligo) consiste nel succhiare banda dalla propria connettività per condividere con altri utenti degli aggiornamenti di Windows già scaricati; in sostanza si tratta di una sorta di servizio di file sharing che Microsoft si è permessa di implementare e attivare di default per scaricare sugli utenti l’onere di distribuire gli aggiornamenti di un proprio prodotto.

Ovviamente da Redmond hanno subito giustificato la cosa dicendo che si tratta di una feature che migliora l’esperienza utente e che interviene solo quando la postazione è in idle (con buona pace quindi degli altri dispositivi in rete locale che utilizzando la stessa connessione WAN).
Amici di Microsoft capiamoci, quello che mi fa incazzare come una bestia non è la feature in se (che se usata solo per i dispositivi in rete locale ha una sua utilità) ma il fatto di averla attivata di default, ecco quindi come disabilitarla.

Aprite il nuovo scintillante menù start e cliccate su Impostazioni.

win10-updates01

Click su Aggiornamento e Sicurezza.

win10-updates02

Aprite le impostazioni avanzate di Windows Update.

win10-updates03

Cliccate sul link dall’agghiacciante traduzione “Scegli come recapitare gli aggiornamenti”

win10-updates04

Disattivate la feature oppure attivatela solo per i dispositivi in rete locale.

win10-updates05


05/08/2015

Oracle EXP-00091 error

A differenza dei backup con RMAN l’esportazione di dati da Oracle è un’operazione tutto sommato semplice e che non richiede particolari competenze.
Sia che si utilizzi il tradizionale exp oppure il più recente expdp (export datapump disponibile da Oracle 10g) l’esportazione è un’operazione indolore, semplice e che spesso può essere più pratica di un restore da RMAN per ripristinare parti limitate di un database (ad esempio un singolo schema, piuttosto che una tabella).

Uno dei warning più frequenti che capitano lanciando una export è l’errore EXP-00091.

oracle-exp1

La soluzione consiste nella semplice esportazione della variabile d’ambiente NLS_LANG (tramite il comando “export” su GNU/Linux e “set” su Windows) prima di lanciare l’esportazione, quello che spesso è meno chiaro con cosa va valorizzata questa variabile.
La NLS_LANG è composta da tre valori:

  • NLS_LANGUAGE
  • NLS_TERRITORY
  • NLS_CHARACTERSET

La sintassi con cui esportare la variabile è la seguente (sostituite export con set su OS Windows):

export NLS_LANG=[NLS_LANGUAGE]_[NLS_TERRITORY].[NLS_CHARACTERSET]

Per recuperare questi valori dovete collegarvi al database e lanciare la seguente query:

SELECT * FROM V$NLS_PARAMETERS;

oracle-exp2

Esportate la variabile e rilanciate il comando di esportazione.

02/08/2015

Rimozione tape backup da Oracle RMAN

Iniziano le ferie, e con esse i soliti triti e ritriti propositi di sistemare cose rimaste in sospeso, appunti accatastati ovunque in attesa di essere riordinati e screenshots presi a casaccio durante le più variegate sessioni di lavoro.

Tra queste ho recuperato una casistica che mi è capitata lo scorso autunno, si trattava di fare pulizia su una vecchia istanza Oracle 10g installata su Windows Server (eresia… :\ ) che in passato era usata come server di produzione, poi declassata ad ambiente di sviluppo e come tale dimenticata da tutto e da tutti.
Facendo un semplice backup ho rilevato gozziliardi di vecchi backup fatti direttamente su tape library tramite librerie di Tivoli Storage Manager e li dimenticati e perduti…

rman-tape1

…seguiti invece da backup più recenti effettuati su storage tradizionale (nello specifico delle share di rete).

rman-tape2

Come fare pulizia di tutta questa schifezza?
Trattandosi di una vecchia istanza i cui backup si erano persi nel vuoto cosmico ho lanciato un bel “crosscheck backup” per marcare quei backup come obsolete (da notare nei due screenshot precedenti che invece la colonna S li mostra come available, A).
Fatto questo basta lanciare un semplice “delete obsolete”, peccato che in questo caso il device (SBT_TAPE) sia irraggiungibile…

rman-tape4_1

Per fortuna Oracle ha pensato a casistiche del genere fornendo una libreria che emula i device di tipo tape (oracle.disksbt), basta quindi definire un nuovo channel SBT_TAPE…

rman-tape5

…e come per magia il comando delete obsolete funziona perfettamente eliminando i backup non più raggiungibili…rman-tape6

…lasciando soltanto i nostri adorabili backup ancora disponibili.

rman-tape7


« Post precedenti | Post successivi »