Welcome to 2017!
One of my working goals for 2016 was to get rid of old systems, old OS’s and old products.
Well, I partially reach that goal but I still have some old monsters which still run on some prehistoric hardware and software.
Recently I had problems with and old Oracle 9i instance running on RedHat Enterprise Linux 3 on a glorious IBM x365 server and IBM DS4300 Fibre Channel SAN.
We already planned to migrate this Oracle database to a new Oracle instance installed on a beautiful blade server, but some problems on the SAN caused some performance issues and pushed us to accelerate this process.
The problem is that developers are not ready for this migration so I had to think to a temporary solution to fix the performance problem while people working on the migration. The SAN problem required some spare parts that does not exist anymore (that’s the direct response from IBM) so I had to find another way: virtualize!
I already tried some Rhel 3 P2v on Vmware ESXi, and after a lot of googling I found this procedure which seems to work very well.
The only requirement is a Rhel3 boot ISO from RedHat Network or from cdrom, you only need the first ISO/CD.
Install Vmware Converter Standalone and create the vm based on the physical system, you can do a live clone, just pay attention to your services, specially if they are locking files or things like that (think about Oracle tablespaces datafiles in my case).
I don’t explain this step because it’s full of how-to on Vmware Converter, it’s basically a “next next next” process…
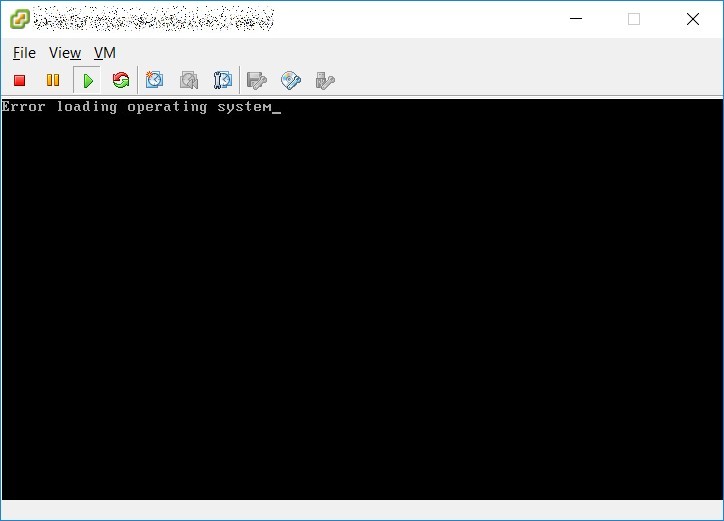
After P2v finished you can try to startup your vm (always pay attention to network settings to avoid ip conflicts, disconnect virtual nic) but that’s the result. :(
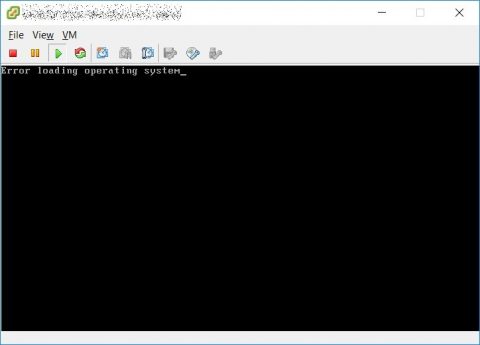
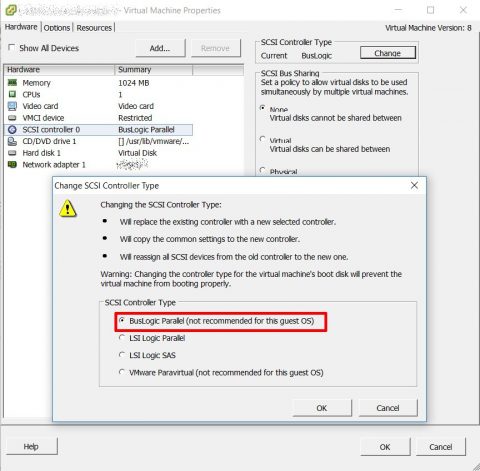
Change the scsi controller on vm settings to BusLogic. I know it’s labeled as old and deprecated, but hey.. are we working on an old and deprecated OS or what? ;)
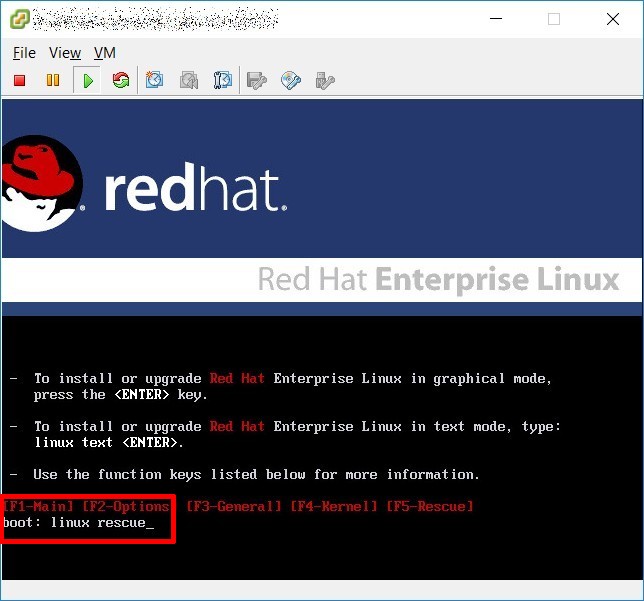
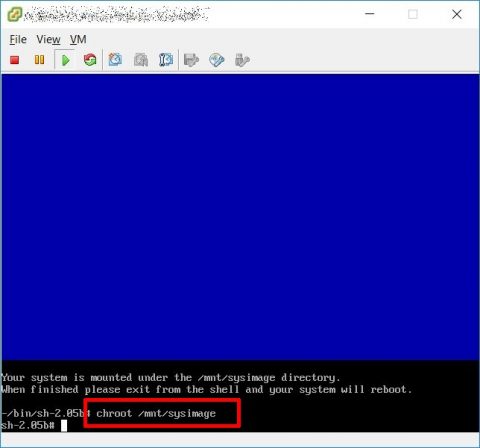
Now boot the vm using your Rhel3 ISO and start GNU/Linux in rescue mode typing “linux rescue” and press enter.

Choose language, keyboard layout, ignore network and when you are at the shell prompt you have to chroot using “chroot /mnt/sysimage”
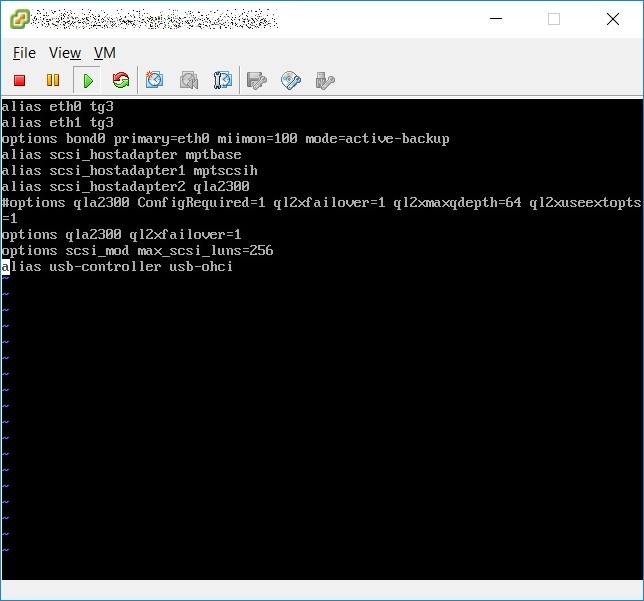
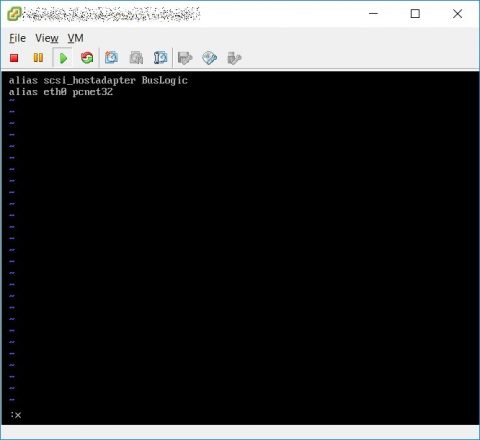
Now you have to edit your /etc/modules.conf file adding BusLogic scsi module and nic module, this is my modules.conf file before…
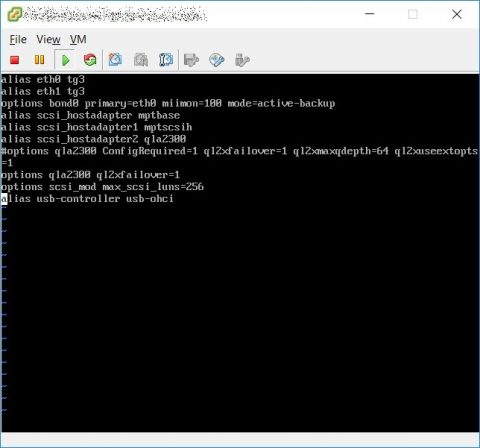
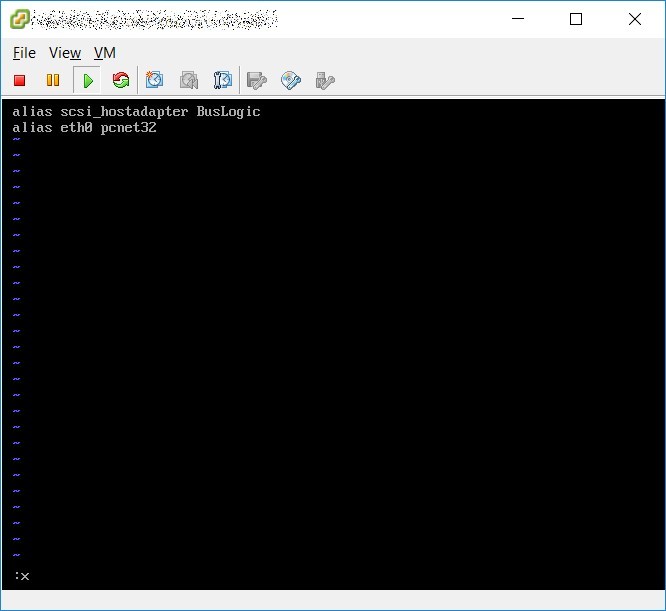
…and that’s after
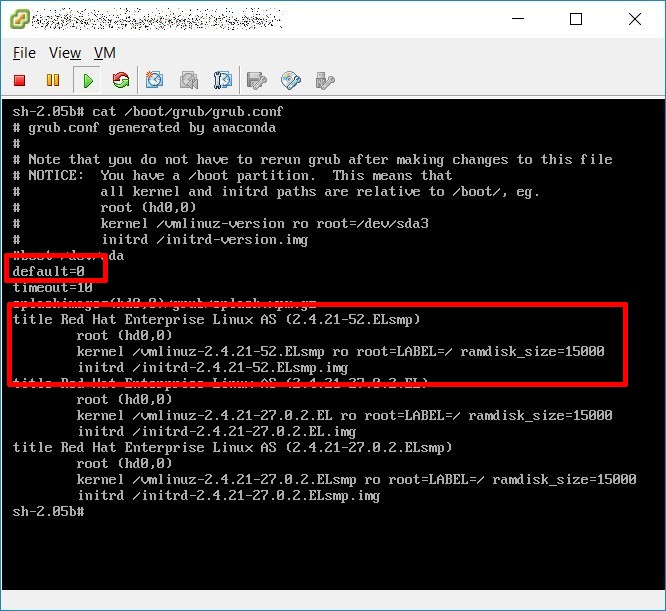
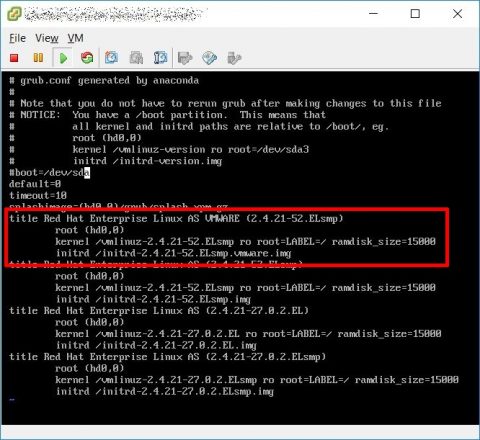
Now you have to create a new init image with these modules using your current kernel, look at /boot/grub/grub.conf file, as you can see the line starting with “default” has a value (zero in my screenshot).
This number identify (starting from zero for the first configuration) the default configuration which is loaded by the grub boot manager, in my example the first (zero) configuration is the one using 2.4.21-52.ELsmp kernel.

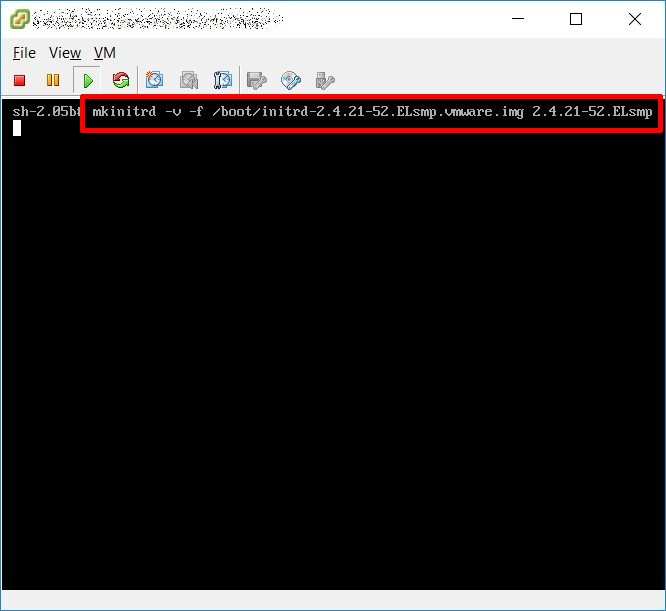
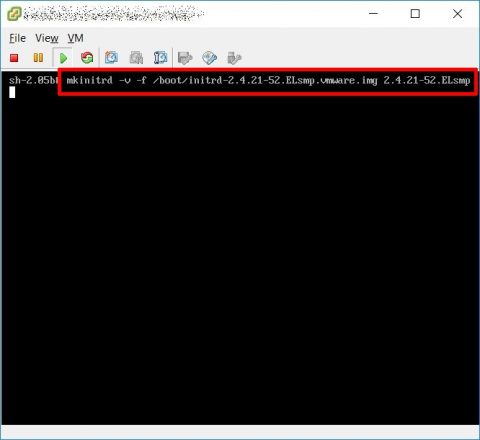
Use the same kernel version you are booting on the physical server and create a new init image with mkinitrd.
I suggest to not overwrite any other image, just use a different filename (initrd-2.4.21-52.ELsmp.vmware.img istead of initrd-2.4.21-52.ELsmp.img).
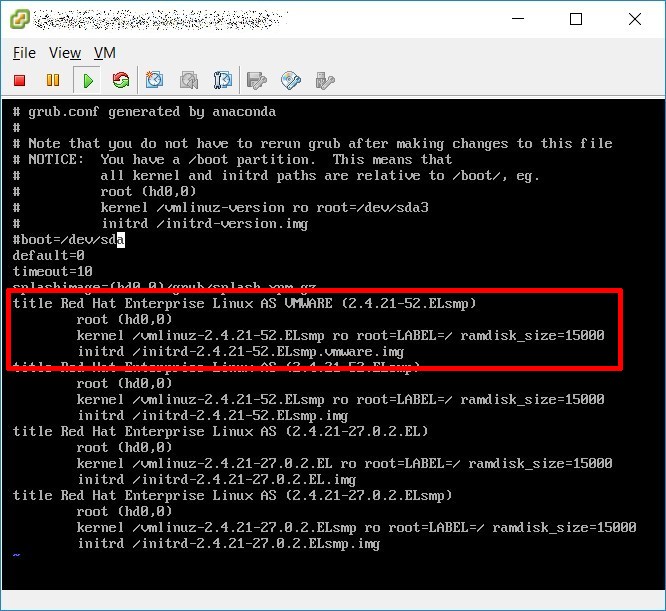
Now edit /boot/grub/grub.conf file adding a new configuration, you can copy the existing configuration for your kernel version and change only the title and initrd image path to the new image you created.
You can put it on the 1st place (zero) and leave the default directive as it is, or put the new configuration wherever you want, just remember to use that configuration by default as you complete the P2V prcedure.
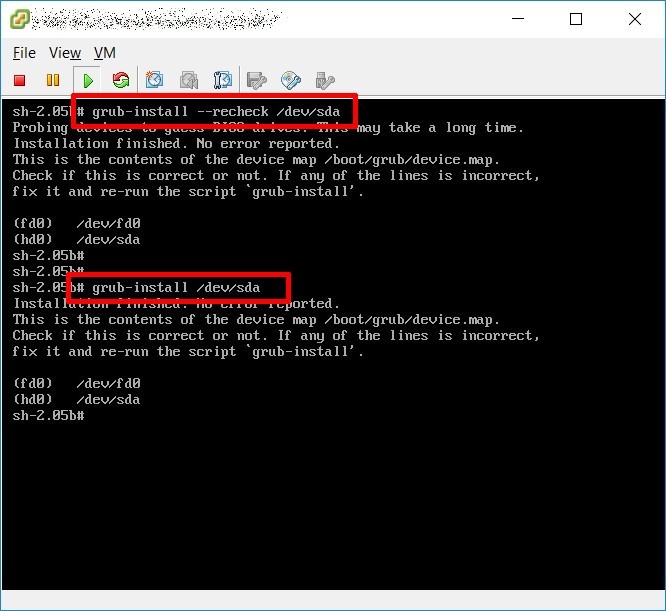
The final step is to reinstall the boot manager using grub-install command.
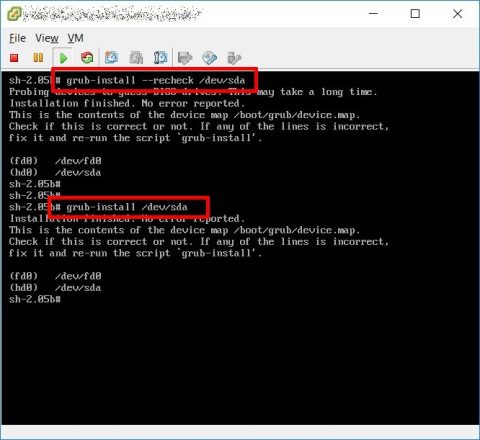
That’s all, now you can boot your vm properly and install vmware tools.
Live long and prosper!